Installing your Ciarra professional range hood is a task that should be performed with care and precision to ensure optimal performance. This guide will walk you through every step of the installation process, from gathering the necessary components to completing the setup.

Warnings:
Check for Missing or Damaged Items:
Before starting installation, carefully check the box to ensure all components are present and undamaged. If anything is missing or damaged, please contact the manufacturer.
Qualified Installation: Installation should be carried out by a qualified technician. It is crucial that the installation follows the clearance guidelines specified on the model/serial rating plate. Incorrect installation may void the appliance warranty.
Components Included in the Kit:

Tools Needed for Installation:
Protective Gloves/ Spirit Level Ruler/ Measuring Tape/ Double-Sided Tape or Regular Tape/ Cross-Head Screwdriver Set/ Electric Drill with 8mm Drill Bit

Installation Process
NOTES: The hoods in this series come in two modes
Recirculation Mode:
When operating in recirculation mode with the Plasma system, cooking odors and smoke are filtered and released through the top vent. In this mode, the aluminum exhaust pipe is not required.
Extraction Mode:
For ducted extraction, use the included 78-inch long, 7-inch-diameter aluminum exhaust pipe. This setup vents air directly outside for maximum efficiency.
Ducting Guidelines:
- Use a maximum of 40 feet of total duct length.
- Minimize the use of elbows and turns—each 90° elbow reduces effective duct length by approximately 5 feet.
- Allow for at least 12 inches of straight vertical ducting from the top of the hood before the first 90° turn.
- Do not use more than 3 elbows in the entire ducting run.
- Do not use reducers on ducting smaller than the required diameter (6" or 8").
- Check that any existing or added dampers are functioning correctly.
- Ensure the appliance is not connected to power during installation.
Examples of Ducting Layouts:

Installation Height Recommendation:
The hood should be mounted at a height between 30 inches (minimum) and 36 inches (maximum) above the cooking surface. This range ensures optimal airflow and extraction efficiency. Chimney height may vary based on your specific hood model and the height of your kitchen ceiling.

Ducted Mode Installation Guide (With Aluminum Exhaust Pipe)
Follow these detailed steps to install your range hood in ducted extraction mode:
Prepare the Air Outlet Assembly
– Attach strips of sponge to all four sides of the hood’s vent opening.
– Position the air outlet assembly on top of the range hood, aligning it with the designated mounting area.
– Secure the air outlet using two screws (B).

Mark Mounting Points on the Wall
– Mark a vertical centerline using a pencil.
– Measure equal distances to the left and right from the centerline to identify your two mounting points.
– Use a level to ensure both points are aligned horizontally.

Drill Mounting Holes
– Insert wall plugs firmly into each drilled hole.
Install Mounting Screws
– Ensure the wall surface can support the weight of the range hood—mount to a stud or use suitable anchors if needed.

Mount the Range Hood
– Carefully hook the hood onto the screws.
– Once in place, tighten the screws to firmly secure the hood to the wall.

Level and Secure the Hood
– Use a spirit level to ensure the hood is horizontally aligned.
– Fasten two additional screws (A) into the safety holes on the rear of the hood to lock it into position securely.
Install the Aluminum Exhaust Pipe
– Attach one end of the included aluminum exhaust pipe to the air outlet on top of the hood.
– Secure the connection tightly with a cable tie.
– Route the other end of the exhaust pipe upward and connect it to an external wall or ceiling vent.
– Lock the second connection in place with another cable tie.

Note: Skip this step if using the hood in recirculation mode with the Plasma system.
Test the Range Hood
– Turn the LED lights on and off to verify electrical functionality.
– Test all fan speeds and extraction modes to ensure proper operation.
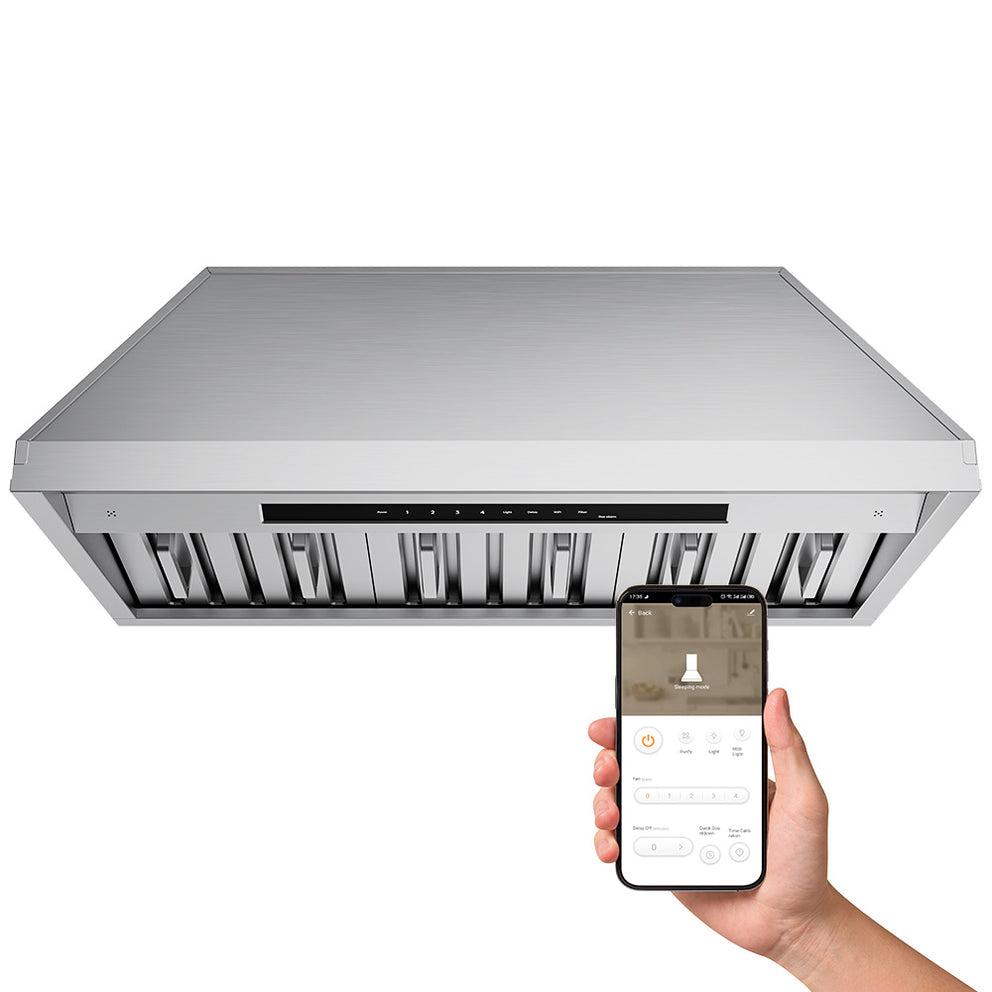
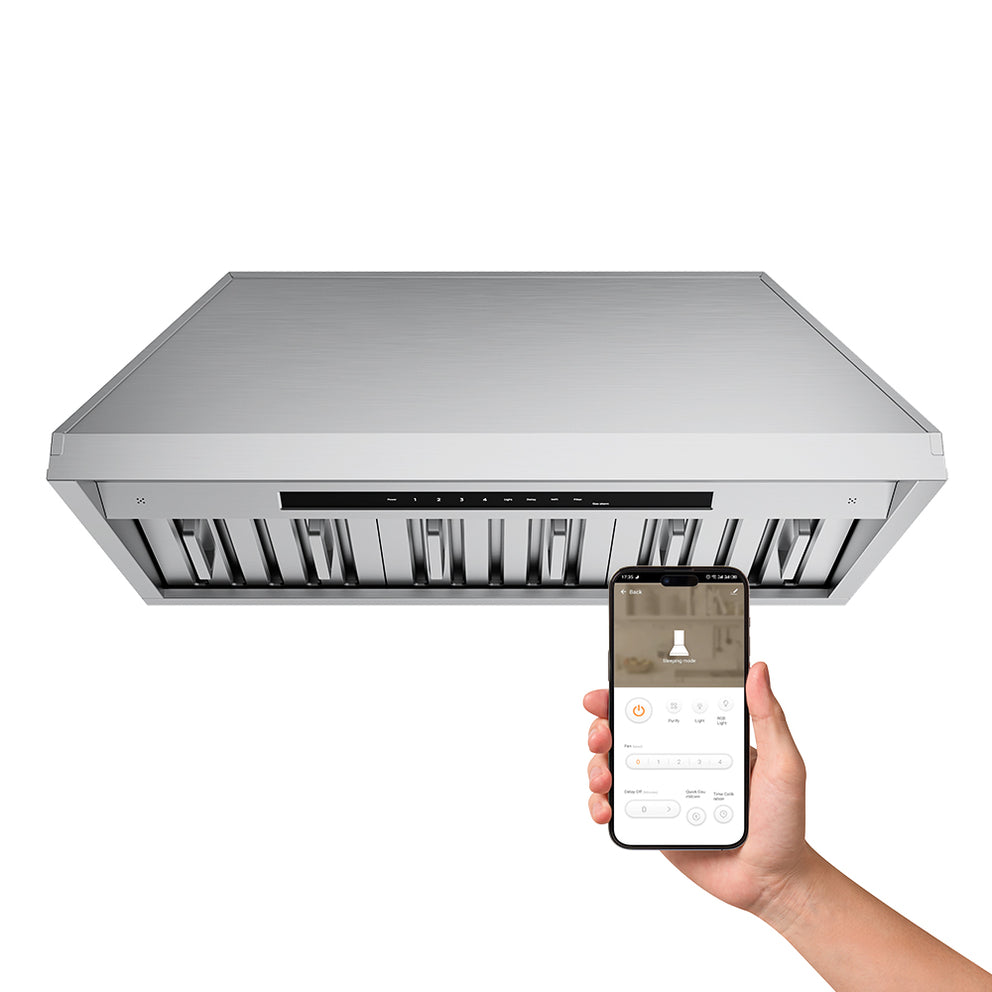
Plasma⁺ system Module Installation Guide (Recirculation Mode)
The Plasma⁺ system module is mounted on top of the range hood. When the hood is turned on, the Plasma⁺ system is automatically activated by an integrated air pressure sensor.
Cooking fumes and grease first pass through the stainless steel grease filter, which captures and separates airborne oils and fats.
The Plasma⁺ system then effectively breaks down cooking odors and airborne contaminants into harmless substances. This process improves indoor air quality without the need for filter replacement.
The filtered air passes through a zeolite molecular sieve. This component absorbs and oxidizes gases such as ozone, sulfur dioxide, and ammonia, further neutralizing any residual odors before releasing clean air back into the kitchen.

Installation Instructions:
Note: In recirculation mode, there is no need to connect an external duct or air outlet. Only the Plasma⁺ system is installed directly onto the hood.
Step 1: Verify Fitment
Before starting, ensure the Plasma⁺ system unit is compatible with your range hood and that there is sufficient space inside the cabinet for installation.
Step 2: Remove the Grease Filter
- Locate the stainless steel grease filter beneath the hood.
- Press the release lock and pull the filter downward to remove it.
Step 3: Position the Plasma⁺ system Unit
Place the Plasma⁺ system module into the designated area on top of the range hood, aligning it correctly with the mounting holes.
Step 4: Secure the Plasma Module
From inside the hood, fasten the Plasma⁺ system unit using the four screws provided. Ensure it is mounted firmly and evenly.
Step 5: Connect the Power
Plug the range hood’s power cord into the Plasma⁺ system unit’s power outlet (located on the Plasma module).

Conclusion
By following these detailed steps, your Ciarra professional range hood will be properly installed and ready for use. Ensure that you test all functions before regular operation and always follow the safety guidelines to ensure long-lasting performance and safety.
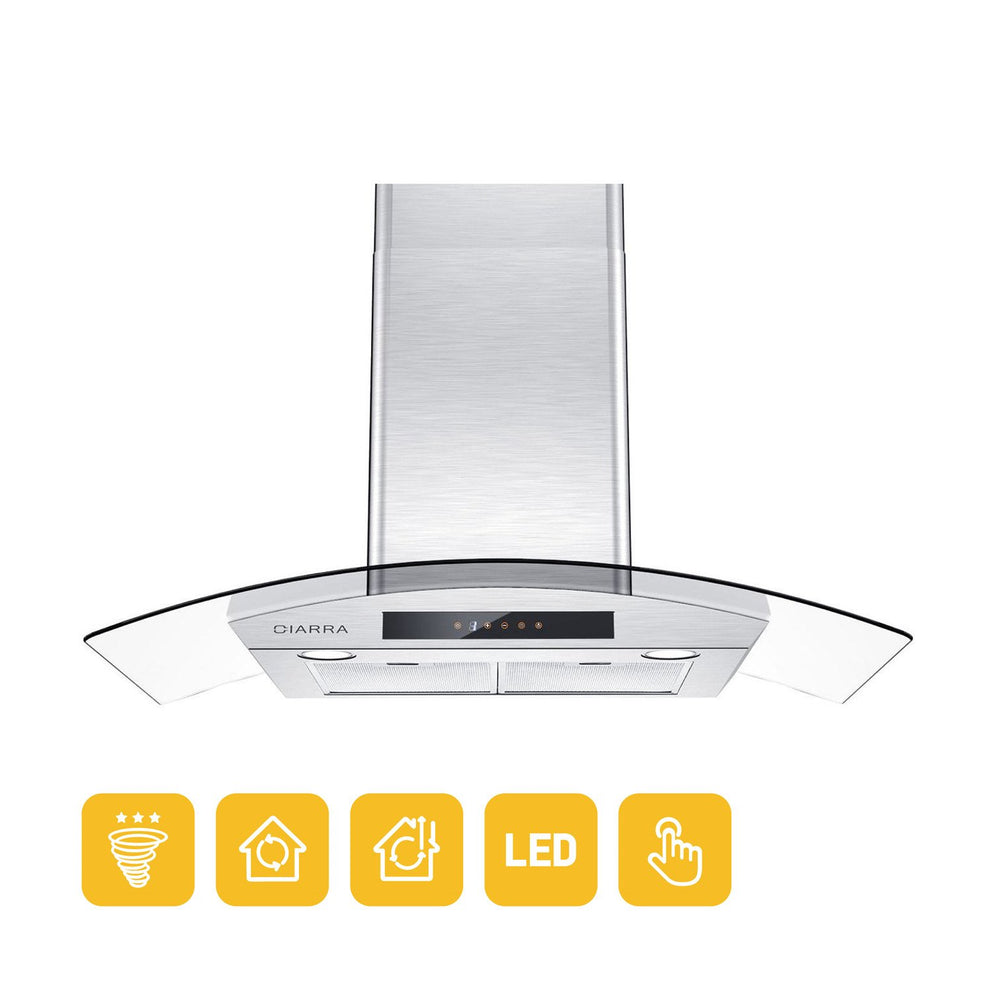
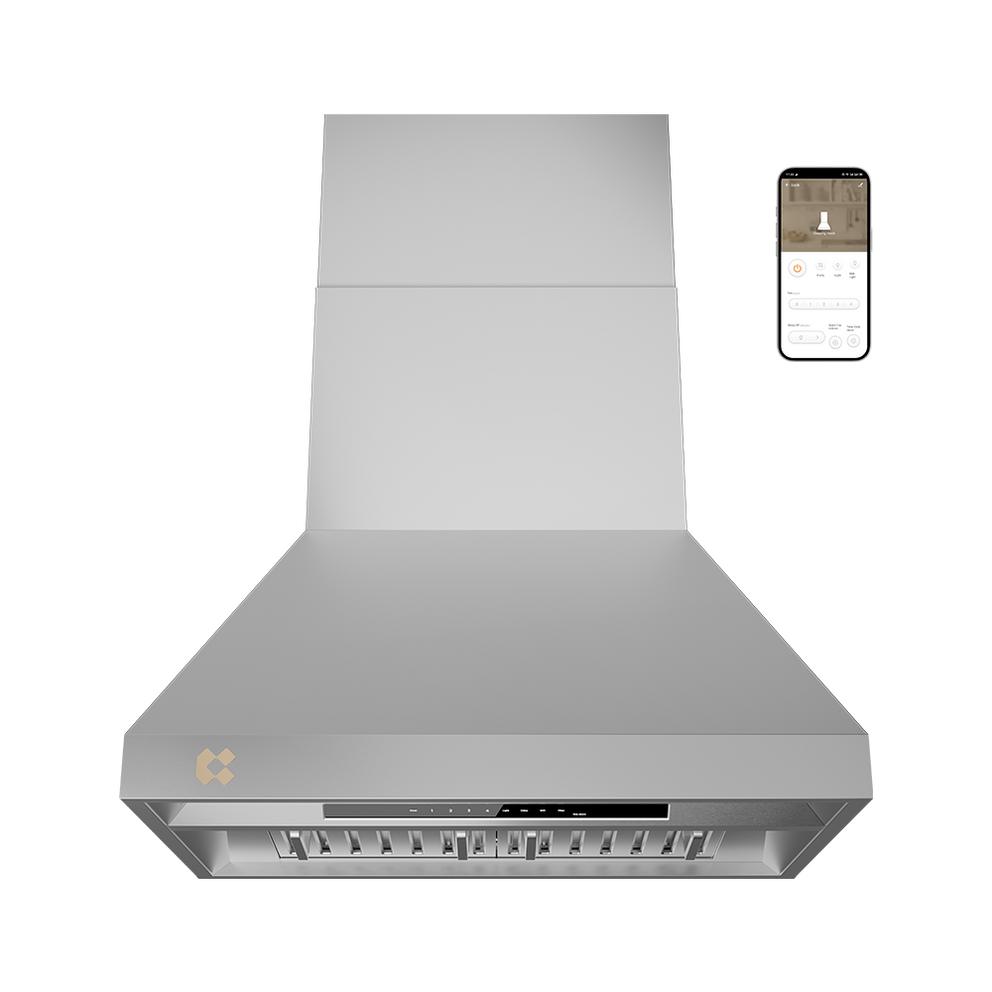
Explore CIARRA® Professional Range Hoods
Clearing the air so you can sear, simmer, and flambé is a must for any adventurous cook. That’s why CIARRA® professional range hoods are built to fit any kitchen space, offering five different types of high-performance hoods. Breathe new life into your kitchen with a professional range hood designed to meet your cooking needs and elevate your culinary experience.